All over the country, as summer is winding down and trees and plants are heavy with the season’s bounty on their branches and vines – pawpaws are ripening. They’re one of America’s few truly native fruits (not to mention they’re the largest fruiting tree in North America) – and folks don’t seem to know much about them. Let’s learn, shall we?
They’re probably hanging around all over during your neighborhood walks, or hiding in a clump of woods as you hurriedly drive by – a ghost of a long lost homestead that’s hanging around long after it’s owners have sold and been gone.
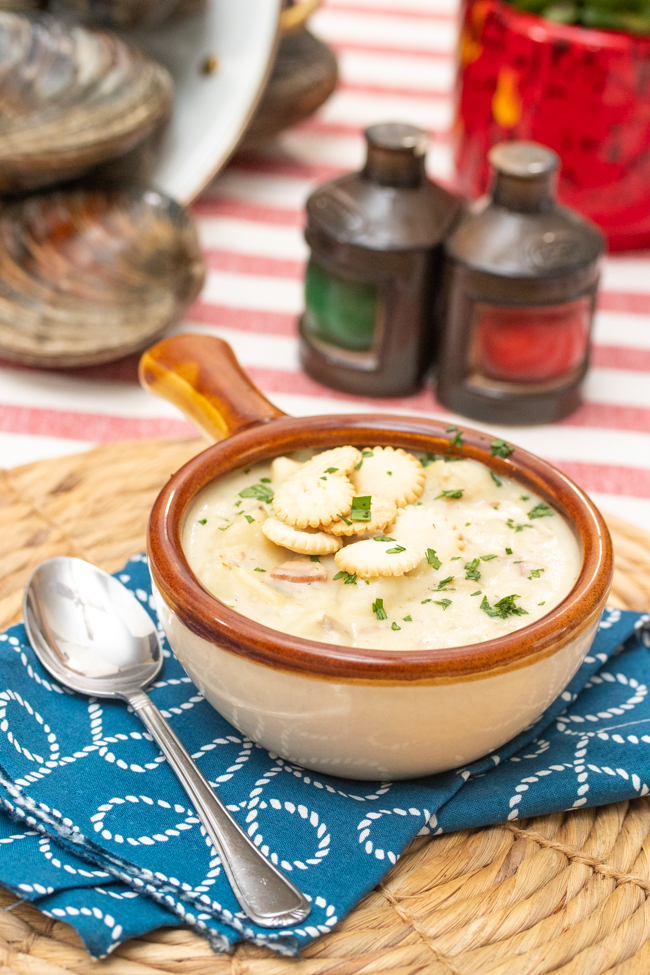
From the outside they kind of look like mangos. And honestly, the inside is pretty reminiscent of them as well. The flesh varies from pale to bright yellow, and contains a network of dark seeds like watermelon. The fruit has a smooth, rich, tropical flavor. And, a texture that I like to think of as custardy – that’s the best way to describe it.
Most folks just eat it as is, but you know me – any chance to margaritaize something, I’m down like a clown. I actually took the photos for this a couple years ago. My friend Rosie (of Pico Taqueria fame) had wanted to make them and get a photo for a friend who was writing an entire book on pawpaws. Rosie and her husband Dylan came over, we made homemade pizza and pawpaw margaritas, and did a photo session with them. Fun stuff.
The book turned out awesome, by the way. All kinds of great recipes and photography are featured in it’s pages. Lots of useful information about varieties and how to go about planting your own trees. Check it out on Amazon and order yourself a copy!
If you can’t find them out and about, check your local farmer’s markets. When I find them I’ll prep a bunch at one time, then portion out the pulp into smaller bags and freeze for use in the winter. It keeps it’s pretty color and rich texture, so that’s really the best way to go about storing it.

Pawpaw Margaritas
1/2 cup margarita mix
1/4 cup mango nectar (usually found in Hispanic aisle of grocery store)
1 cup tequila
1/3 cup triple sec
1 cup ice
lime slices, for garnish
2 Tbsp kosher salt, for rim
2 Tbsp sugar, for rim
Rim your glasses. Combine salt and sugar on a small plate. Using a piece of lime, wet the rim of the glasses. Dip into the salt-sugar combo and set aside while you prepare the margaritas.
Place all ingredients in blender. Cover, and blend on puree setting for about a minute, until nice and smooth.
Pour into prepared glasses, garnish with a slice of lime, and serve.
Source: adapted from For The Love of Pawpaws, Michael Judd


 In the spring of 2019 I visited an estate sale here on Chincoteague Island. Upon entering I could tell this was my kinda lady. Beautiful kitchen equipment, lovely nautical themed linens, vintage Shore Stop drink coolers (growing up, EVERYONE had one to take to the beach). All my favorite books lined the shelves – Beautiful Swimmers, A Sand County Almanac, A Gift From The Sea, random Eastern Shore history books.
 The second was a poster for the
 She’d evidently struggled with Alzheimer’s since 2018, and COVID-19 is what brought her to meet her maker last summer. She was 86. Had a beautiful family with children and grandchildren. It was great to finally get to read about her, and see her picture – she was exactly the kind of person I’d painted a picture of in my mind. They even mentioned her love of Chincoteague in the article…