As I mentioned last week, I’m participating in JSL Food’s Twin Dragon Wrapper Recipe Contest. I shared my entry for the Holiday Appetizer Category last week, and this week I want to throw my entry for the Game Day Appetizer into the hat!
Football season wasn’t quite as victorious as last for us 49ers fans, not to mention the lack of football parties with COVID – this year was definitely a change, and one for the books. But, that didn’t stop the Davis fam from enjoying the games from home and munching on some delicious football snacks while doing so!

I made these Cheeseburger Egg Rolls for Super Bowl – and they were a hit with our crew! A few simple ingredients and you’ve got a super simple appetizer that’s sure to please your MVPs. I loved the addition of pickles – gave a nice, tangy, crunchy bite. And, I’m definitely sold on the wrappers…
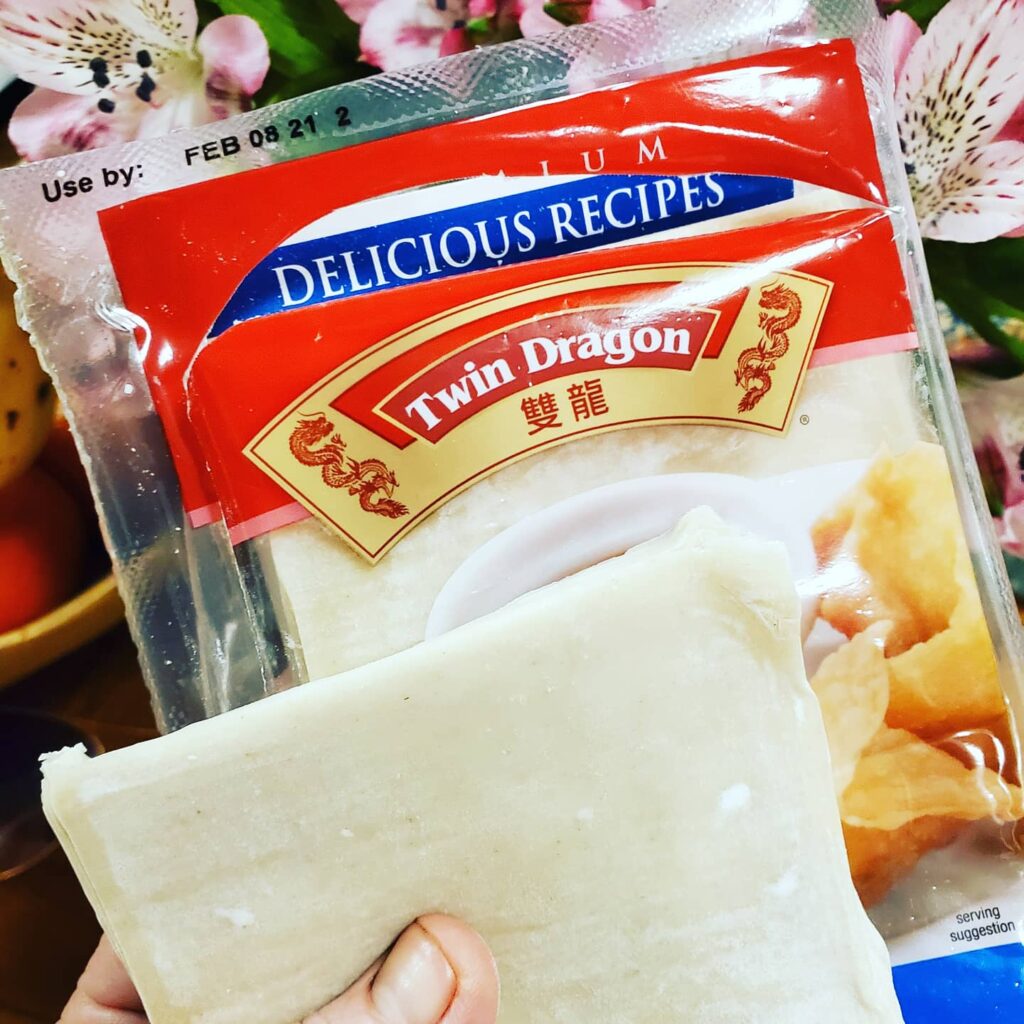
I’ve made alot of egg rolls over the years, using different brands – and none of them have fried up as beautifully as these did. Low oil absorption, nice crunchy little bubbles, gorgeous even browning. Not all egg roll wrappers are created equal, and the Twin Dragon wrappers really pleased THIS MVP.
I served with a simple sauce composed of mayonnaise and ketchup as the base – and it completed the flavor profile of a cheeseburger nicely! Don’t wait until next season to make these, guys.

Cheeseburger Egg Rolls
1 lb ground sirloin beef (90% lean)
1 small onion, chopped
1 tsp kosher salt
1/2 tsp black pepper
8 slices yellow American cheese
4 kosher dill pickle spears, chopped
1/4 cup yellow mustard
2 Tbsp ketchup
1 Tbsp olive oil
12 Twin Dragon Egg Roll Wrappers
6 cups vegetable oil, for frying
For the sauce:
1 cup mayonaise
1/2 cup ketchup
1 tsp garlic salt
1/2 tsp paprika
Heat olive oil in a medium pan over medium-high heat. Add ground beef and onion, and saute until beef is browned and onions are translucent. Drain and place back into pan.
Break cheese slices into pieces and add them to the beef, along with the pickles, mustard and ketchup. Mix until cheese has melted. Set mixture aside and let cool.
Heat vegetable oil in large pan or dutch oven to 350 degrees. Place a cooling rack inside a baking sheet, and top with paper towels – set aside. While the oil is coming up to temperature, wrap the rolls by adding 3 Tbsp of filling to each wrapper, and wrap according to the package directions.
Place rolls in hot oil, frying 4 or 5 at a time, and fry until golden brown. Remove to a prepared tray to drain.
Make sauce by combining all ingredients. Serve alongside egg rolls.
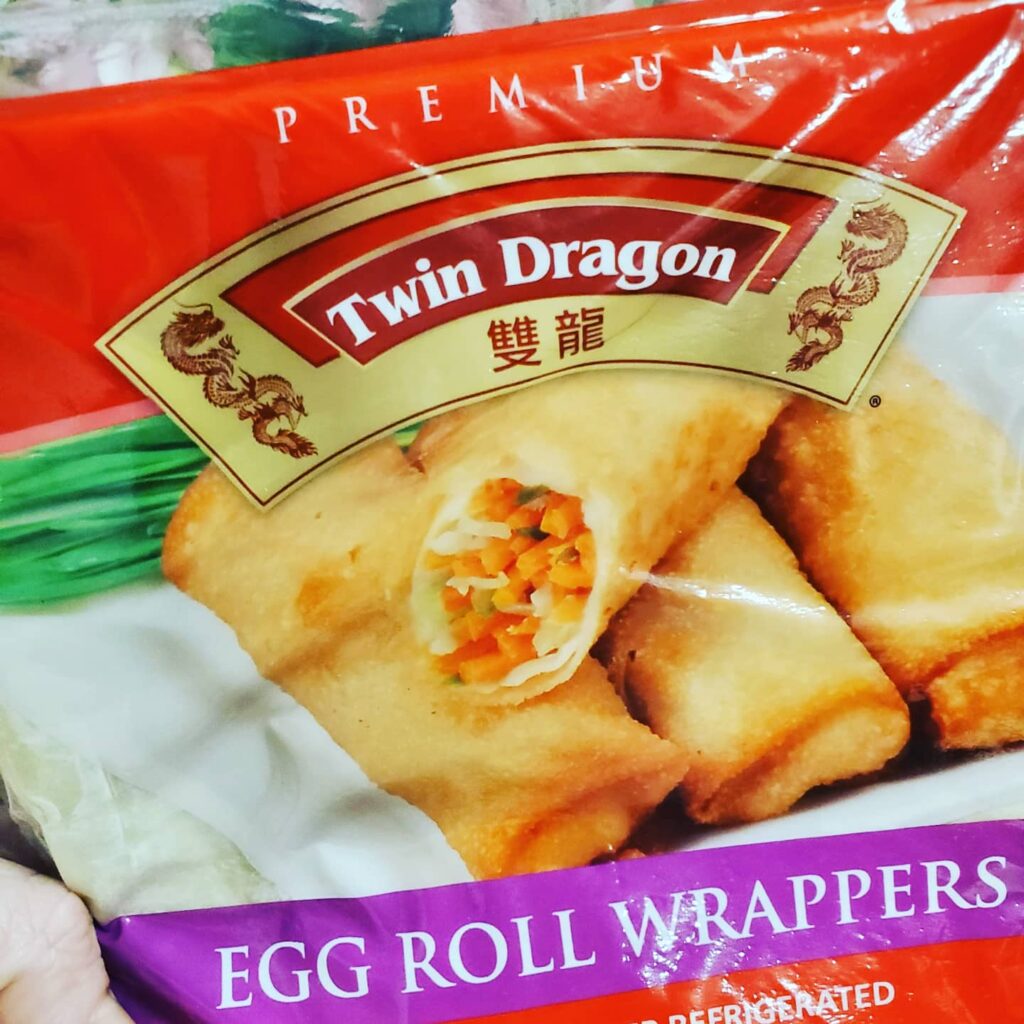
You can find Twin Dragon Asian Egg Roll wrappers at your local Walmart. And, be sure to follow along on their social media channels for great recipes!
Facebook: https://www.facebook.com/JSLFoods/
Twitter: https://twitter.com/JSL_Foods
Instagram: https://www.instagram.com/jslfoods/