We had our first snow fall on Chincoteague last night. It wasn’t much – but was enough to get the kids out of school for the day, and enough to make a batch of snow cream for breakfast. I made an affogato with mine (I got a new espresso machine a couple weeks ago, y’all!), and it was pretty much life changing.
So now that we’ve gotten our dose of snow, I’m really ready for the warmer days ahead. Ready to have my playlist be whole again, for one. I have to remove quite a few songs that I just can’t listen to in the winter, without bawling like a baby…
This year I’ve been in better spirits due to our get-together’s we’ve had with the LBC (Little Beach Crew) in the off-season. Friends who are like family, that we spend so many glorious boat days with in the summer. And while that’s been great, it’s safe to say that we’re all ready to resume our Sunday suppers out on the water!

We usually plan out our meal via Facebook chat during the week, everyone bringing something. This broccoli salad was something I always begged Rebecca to bring. Her sister Jessica also makes it as well, but I’m usually begging her to bring cookies…
I happily ate this broccoli salad, week after week, month after month. Always squirreling away any leftovers into our cooler, so that I could enjoy another round later – after the boat was out of the water and boys were in bed. Figure that’s better than the cookies, right? There are never any of those leftover, by the way.
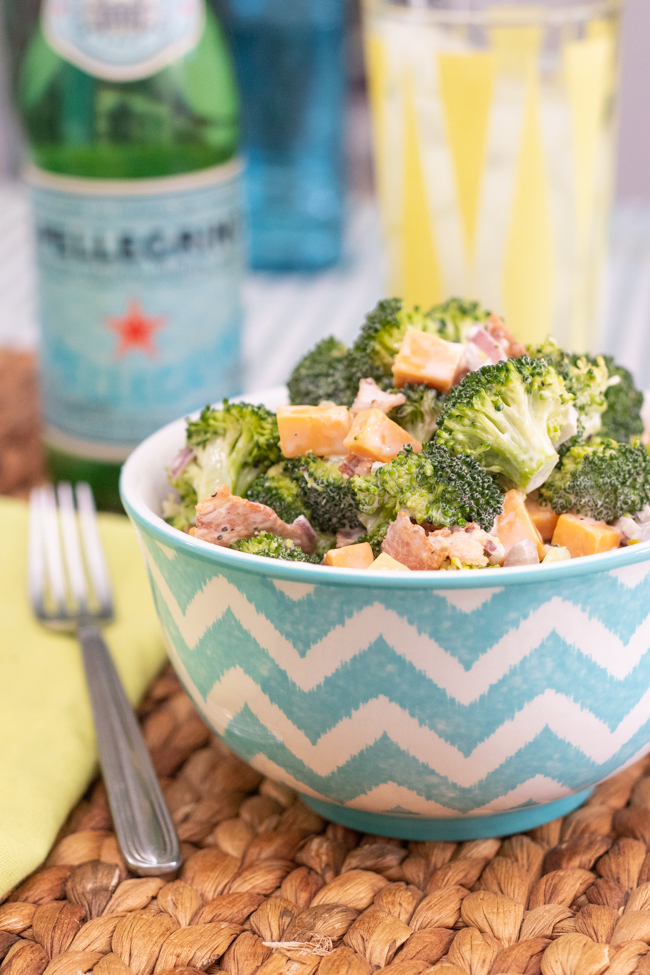
Everyone has their own riff on broccoli salad – but for me this one will always win. Slightly crunchy broccoli, crisp bacon, and chunks of cheddar are the centerpieces. And the dressing couldn’t get easier: mayo (I substitute in some Greek yogurt), a sprinkle of sugar, and a splash of vinegar. It’s not QUITE as good as it is out on the boat, but everything always tastes better outside anyway.
So until the LBC is pulling into our “one particular harbor” – I’ll be getting by with my broccoli salad and Buffett ballads. Which really isn’t all that much different than summer anyway, I suppose. Stay warm, friends!

Bacon Broccoli Salad
6 pieces thick cut bacon, chopped
2 heads broccoli, florets removed and roughly chopped
1 red onion, peeled and finely diced
8 oz cheddar cheese, diced
1/2 cup plain Greek yogurt
1/2 cup mayonnaise
2 tsp granulated sugar
1 Tbsp apple cider vinegar
kosher salt
In a medium skillet over medium high heat, cook the bacon until evenly brown and crisp. Remove to paper towel lined plate and set aside.
In a large bowl prepare the dressing by whisking mayo, sugar, and vinegar.
Add in chopped broccoli, diced onion, cheddar cheese, and cooked bacon. Toss to combine with the dressing. Season to taste with salt.
Chill for at least an hour before serving.
 This time of year, there’s really nothing more comforting than a warm bowl of soup. Am I right? Well, except for when it’s a chowder. Made using pantry staples. That’s incredible easy…

 Big shout out to Johnny at
  Natalie & Stewart at
  Kristen & Jamie at
  The good people at